Skins (156)
Visuals (115)
Input Plugins (34)
Output Plugins (6)
General Plugins (14)
Archive Readers (15)
Input Plugins (41)
DSP Plugins (10)
External Add-ons (16)
XMPlay Archive (71)
Skins (156)
Visuals (115)
Input Plugins (34)
Output Plugins (6)
General Plugins (14)
Archive Readers (15)
Input Plugins (41)
DSP Plugins (10)
External Add-ons (16)
XMPlay Archive (71)
Thank you for trying XMPlay! You probably don't want to read the whole manual before starting to play your music, not even if it has pictures, so I'll list the essentials here.
XMPlay does not require administrator privileges, and can be put on a USB drive. Download XMPlay from the Un4seen Developments website and extract the ZIP-file to a folder. You can create a folder structure to keep things neat, but XMPlay doesn't require that.
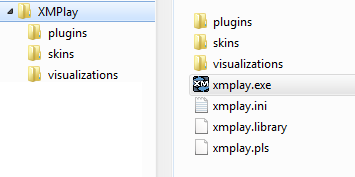
If you have Windows Vista or 7, it is recommended to use the WASAPI output plugin, xmp-wasapi. Put it in the Plugins directory.
XMPlay will work directly! It just notifies you that you should read the manual.
The Main Window contains the playback control buttons and a small view of the playlist. The volume slider is the one just above the Stop-button.
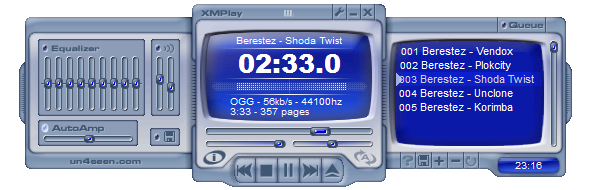
Hover over sliders and buttons to bring up tooltips with descriptions.
Right-clicking buttons and sliders brings up other actions, so don't forget to try those! For example, you can have XMPlay close when the playlist is finished (right-click the close button), shuffle or sort the playlist (right-click the random button), and much more.
Hit F5 to open the Extended Playlist, or right-click the i-button and choose Extended playlist.
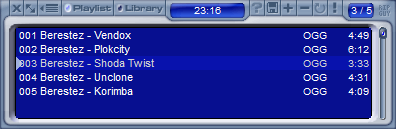
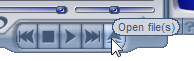
You can add files by clicking the +-button, or add a folder by right-clicking the button. You can also drag files and folders from Explorer onto the playlist. You can switch to random playback with the ?-button at the top. Hit Ctrl+f or click the !-button to open the search window, or hit Alt+f to use find-as-you-type. Double-click a track to play it, middle-click to queue it. Right-click the Minimize-button to minimize XMPlay to the system tray.
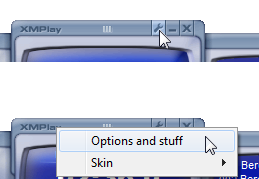
Click the wrench, or right-click on the title in the Main Window and select Options and stuff.
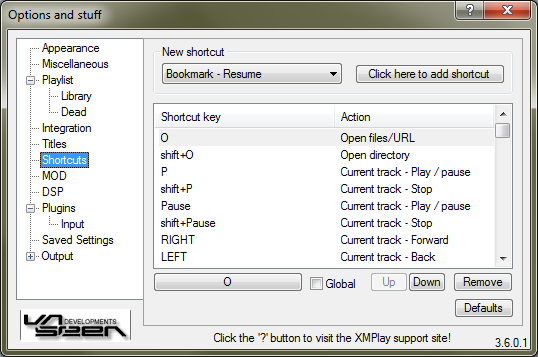
I'd like to recommend the following settings to you:
Appearance: switch off those 10ths of seconds.
Miscellaneous: crossfader settings and proxy configuration.
Integration: select the filetypes you want to use, tick the Folders option and click Apply.
Titles: "%?2{%2 - |}%?3{%3 - |}%?5{%5 - |}%?1{%1|%0}" (artist - album - track - title)
DSP: set the Auto-amp to dynamic, untick Reset on new track to get all tracks to the same volume.
Output: Select the output device you'd like to use (WASAPI is recommended when you're on Windows Vista or 7).
Skins: get them from the skin section of this Support Site.
Visualizations: get some eye-candy from the visuals section! If you prefer to see album covers, get xmp-coverart.
Shortcuts: In Options and stuff, you can assign keyboard shortcut to different actions. You can assign multiple actions to the same key combination, to get a chain of actions. Shortcuts can be global as well, so they work regardless of whether XMPlay has focus.
If you'd like to read more on how to configure XMPlay, take a look at the Illustrated Manual, read the FAQ or read xmplay.txt which came with XMPlay. Join the forum to ask further questions, to test the latest beta version, to report bugs or to add a feature to the wishlist. Hope to see you around, and enjoy the music with XMPlay!