Skins (156)
Visuals (115)
Input Plug-ins (34)
Output Plug-ins (6)
General Plug-ins (14)
Archive Reader (15)
Input Plug-ins (41)
DSP Plug-ins (10)
External Add-ons (16)
XMPlay Archive (71)
Skins (156)
Visuals (115)
Input Plug-ins (34)
Output Plug-ins (6)
General Plug-ins (14)
Archive Reader (15)
Input Plug-ins (41)
DSP Plug-ins (10)
External Add-ons (16)
XMPlay Archive (71)
This simple tutorial shows how to skin the main panel of XMPlay, but gives you the information necessary for a complete skin. For this you will need a paint program that allows you to assign the palette, such as Paint Shop Pro (any edition probably - I used an old 16-bit 3.11 version even).
Other suggestions of graphics applications that can do this would be nice, as well as any steps which you think should be emphazised.
Firstly we open up panel_main.bmp, this is the graphic that shows what we see.
You can make this look however you like, there are however some things that arn't possible.
The horizontal bars used for volume control, position indicator etc must be a flat horizontal line as shown in the default skin. (E.g. They cannot be vertical.)
With the main panel I like to draw the entire layout of the skin, including the playlist and how the preferences panel fits into it. The below image shows how the playlist is locked into place with a small tab with an arrow indicating where the preferences are.
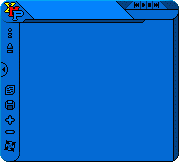
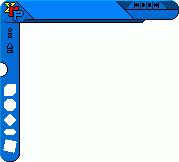
Once I decide thats the look I want I save the image for later (so for use when making the playlist and preference panels for example). And I delete all the bits thats arn't directly in the main panel image, while leaving gaps for the playlist and buttons.
We now save this back as panel_main.bmp and are now ready to make the mask to mark the position of buttons etc.
Now we mark out the areas of the bitmap where the buttons, sliders and displays are. You may find this easier to cut out the areas on the panel_main.bmp and delete the rest, so the buttons are lined up correctly.
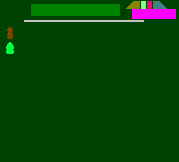
This can be just done in paint and saved as mask_main.bmp.
After opening it in Paint Shop Pro, we first reduce the number of colours in the image to 256, via the menu as shown below and press Ok to continue.
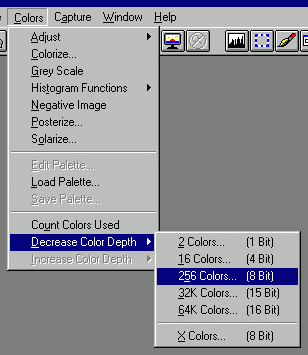
Now double click on the area indicated below to go into the color index, the index for each colour relates to the index in the text file accompanying the skinning kit.
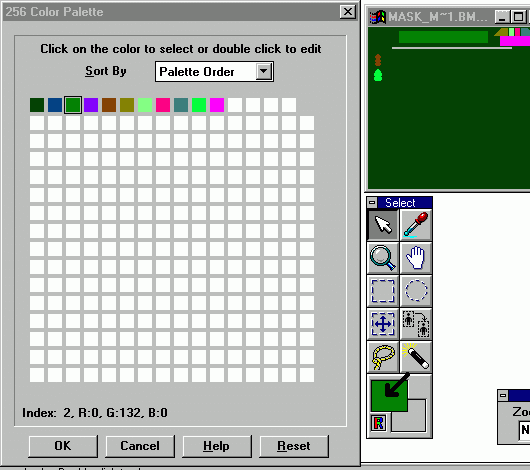
So for example the title display of the main panel has an index of 2, so the area where the title is to be displayed will be colour with this indexed colour as shown in the picture. Do this for each area of the mask to indicate all the positions of the buttons, displays and sliders. Save the image back as mask_main.bmp.
Before this skin would be complete there must also be changes to the slider_horiz.bmp and button_pause.bmp to fit in with the new interface. Like so...
![]()
![]()
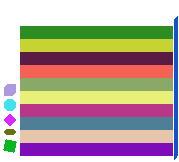
With that the main panel of XMPlay is now skinned, you can start XMPlay to see your handywork in action, change colours, sizes, types of fonts for the displays and lighting in the skinconfig.txt and ofcourse do the same for all the other panels. The following images are just an example of the playlist which would fit into this design.

![]()
Tip: If you are working on the mini-mode skin and use the "button_pause.bmp" instead of "button_pause_mini.bmp", the pause button mask *must* be the same size on both the main, and mini-mode's otherwise it will look incorrect.